目录
- 1 电商模板安装
- 2 创建页面
- 3 创建底部导航条
- 总结
我们已经利用了两篇文章解读了一下微信小程序带的TDesign模板
TDesign小程序组件库01
TDesign小程序组件库02
入门一款前端组件库,如果挨个去看每个组件的用法未免比较枯燥,即使看懂了其实离实际开发还是比较远的。为了快速的入门,其实带着一个实际的案例去学习就比较快了。
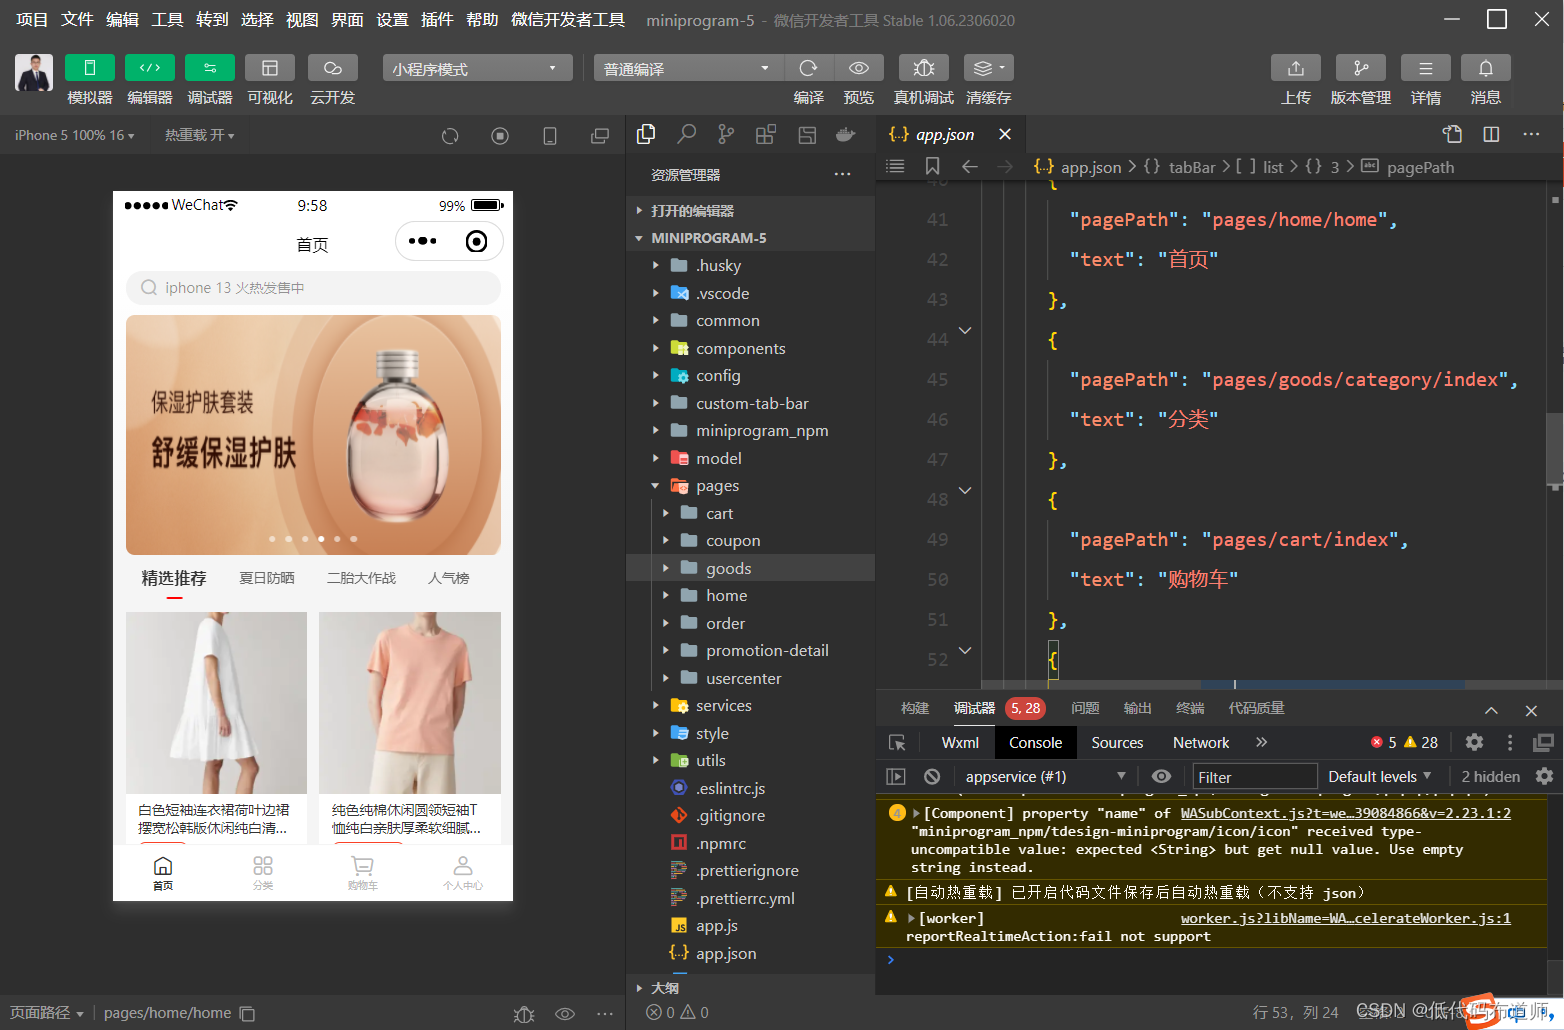
通常小程序比较常见的场景是电商,一般是作为商家一个私域运营的工具。好在已经提供了一套电商模板,我们来逐步拆解一下。
1 电商模板安装
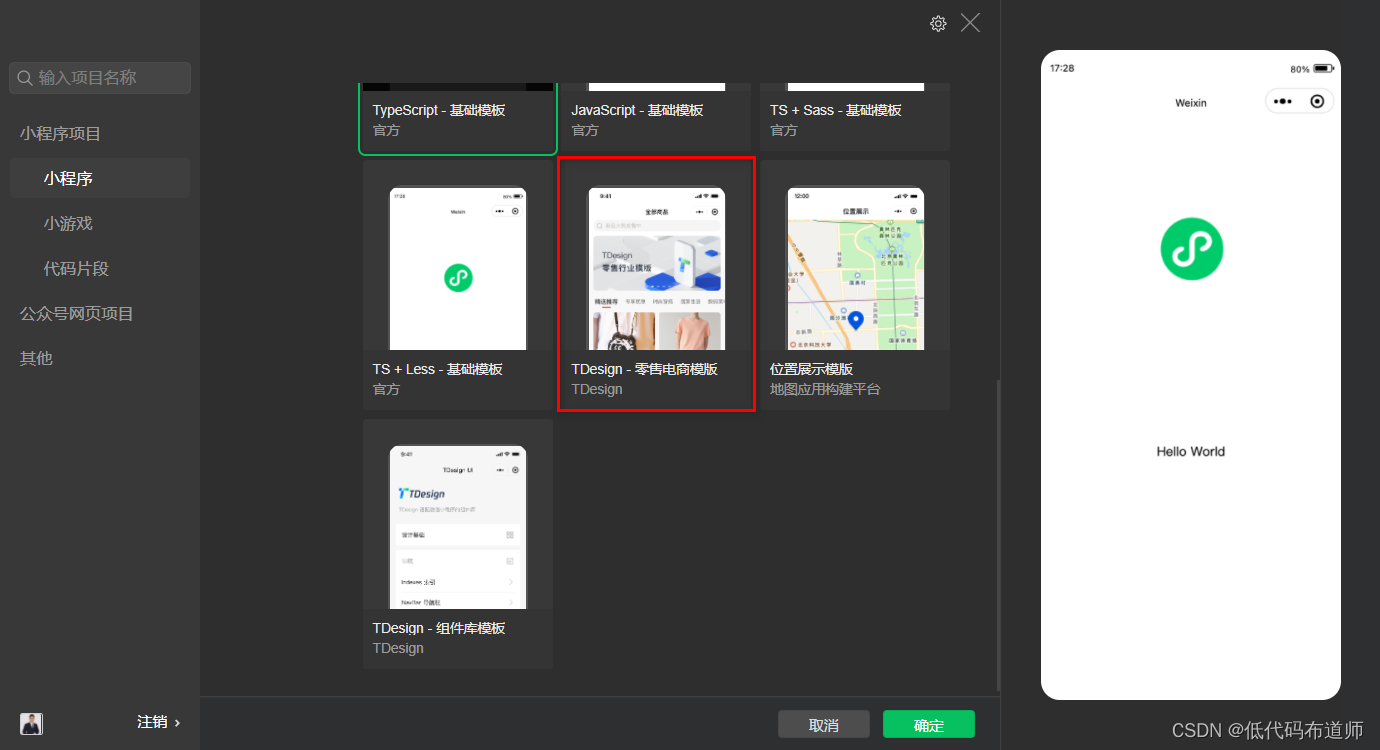
在我们启动了微信开发者工具后,选择不使用云服务的时候,就可以看到这套电商模板
安装后就可以看到具体的文件的目录
2 创建页面
学习一套模板可以阅读代码,也可以创建一个空项目复刻一下。源代码我们在复刻的时候边做边看,这样可以比较好的梳理一下他的思路。
开发小程序第一个步骤是搭建页面,我们可以按照底部导航栏先进行搭建。底部导航栏目前有四个菜单,分别是首页、分类、购物车和个人中心。
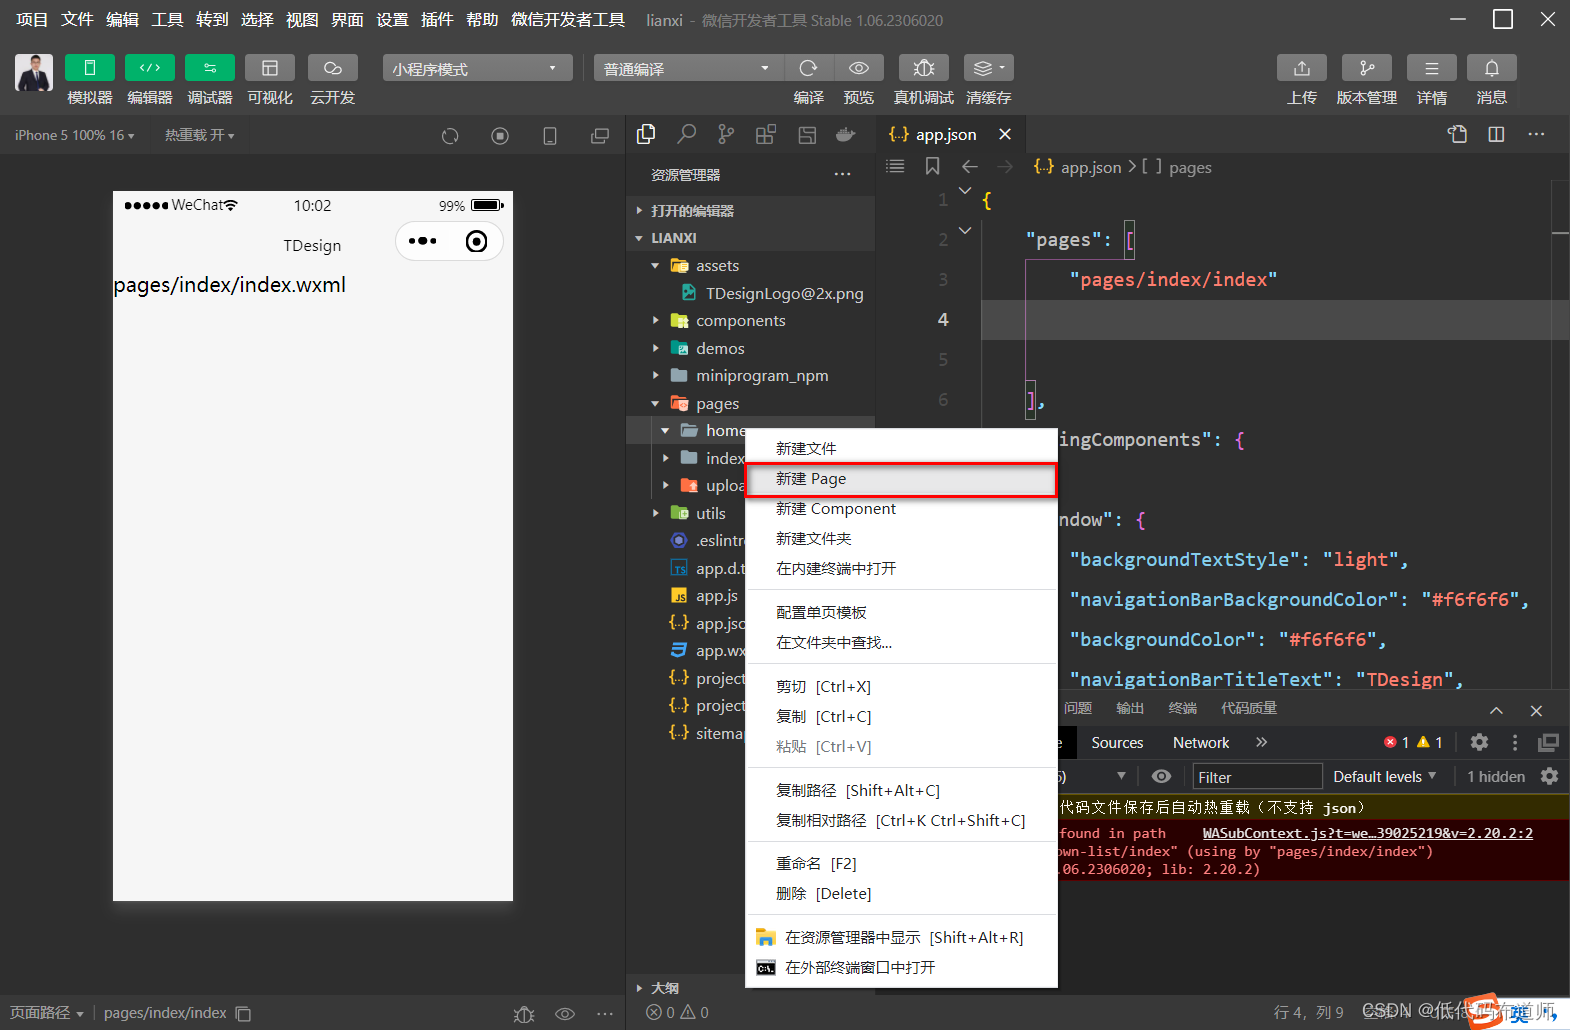
那么就先搭建这四个一级页面,选中pages,右键新建文件夹
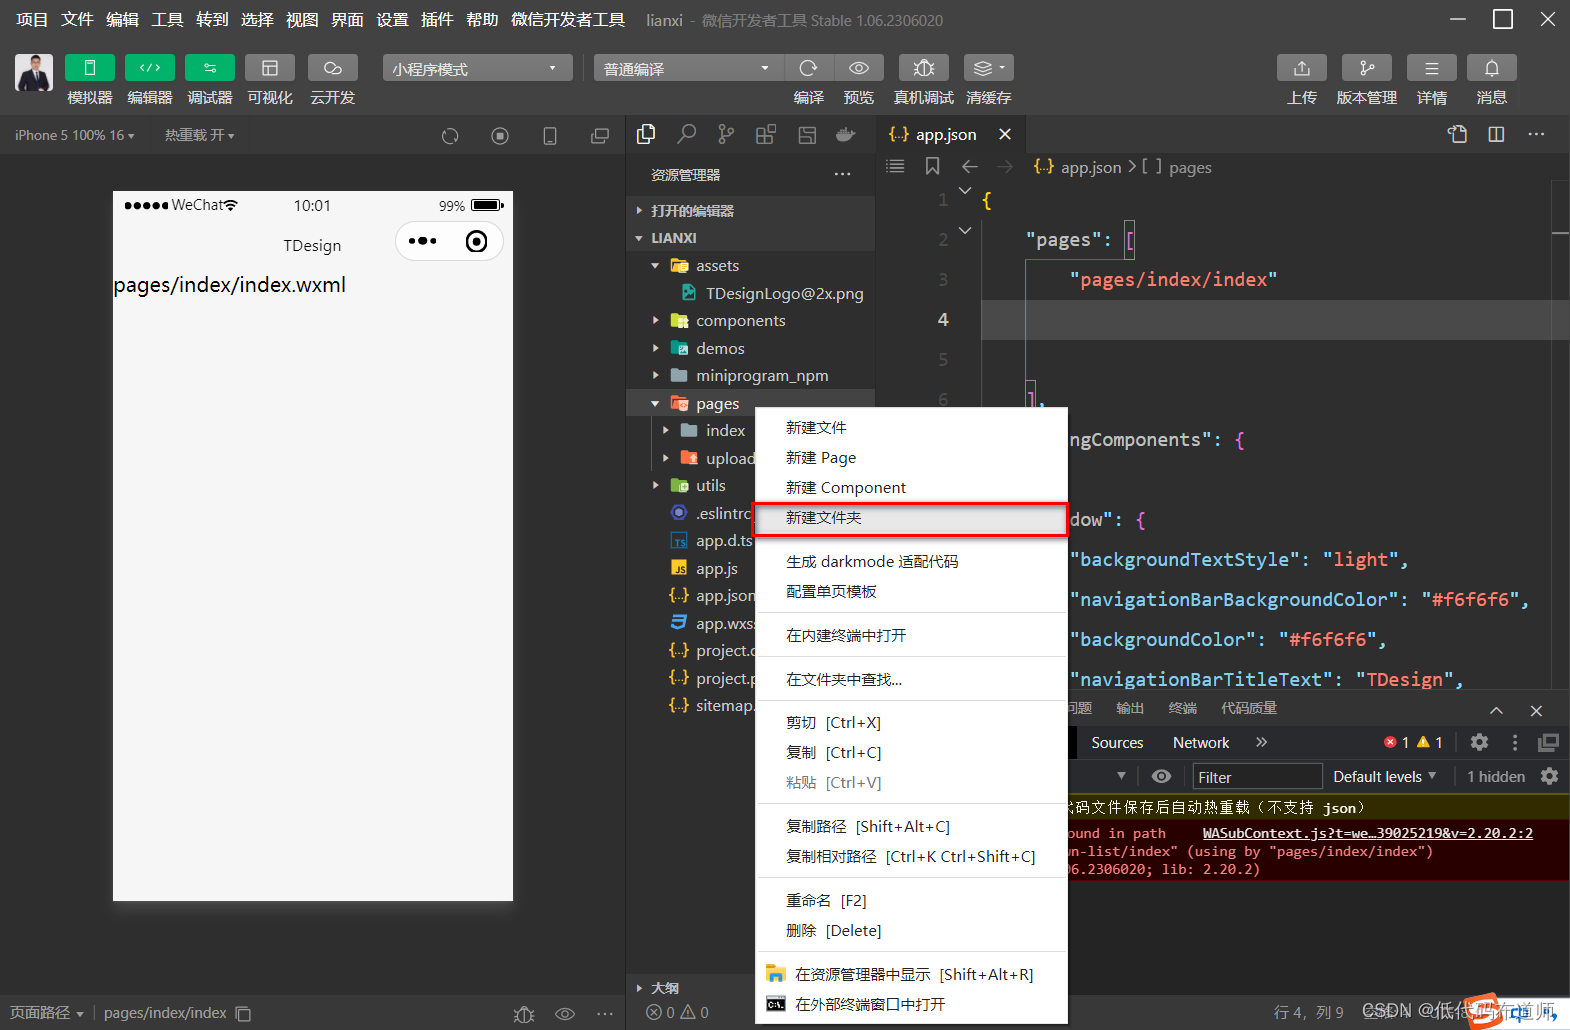
输入home
然后选中home,新建Page
输入home
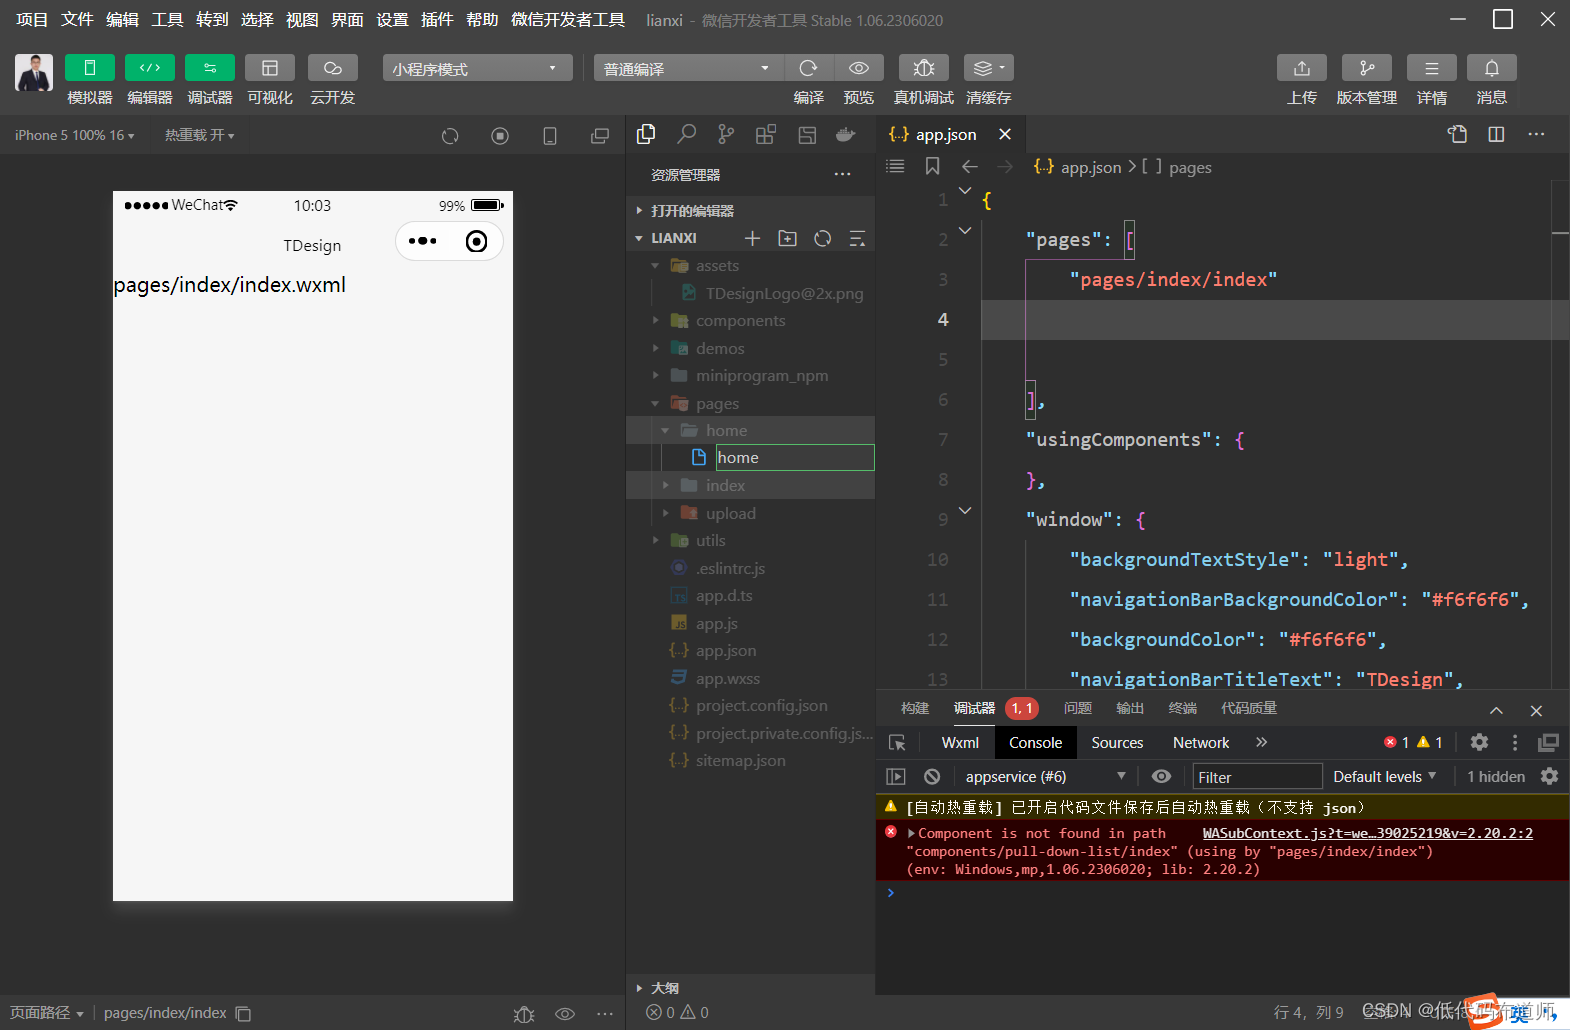
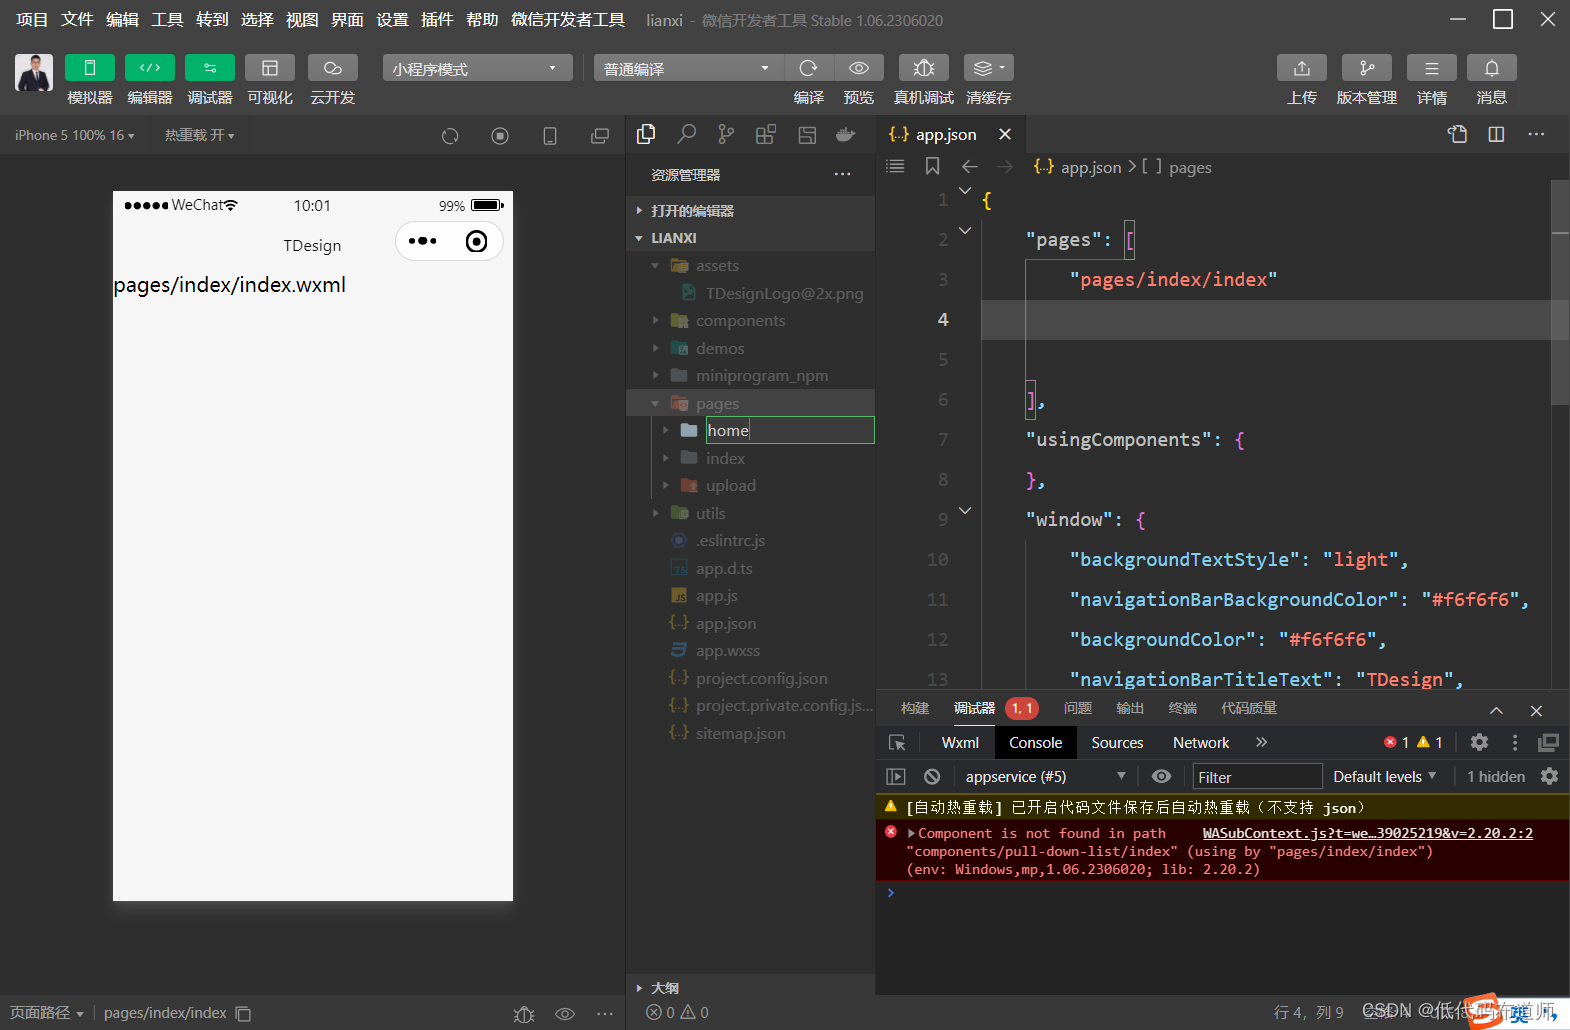
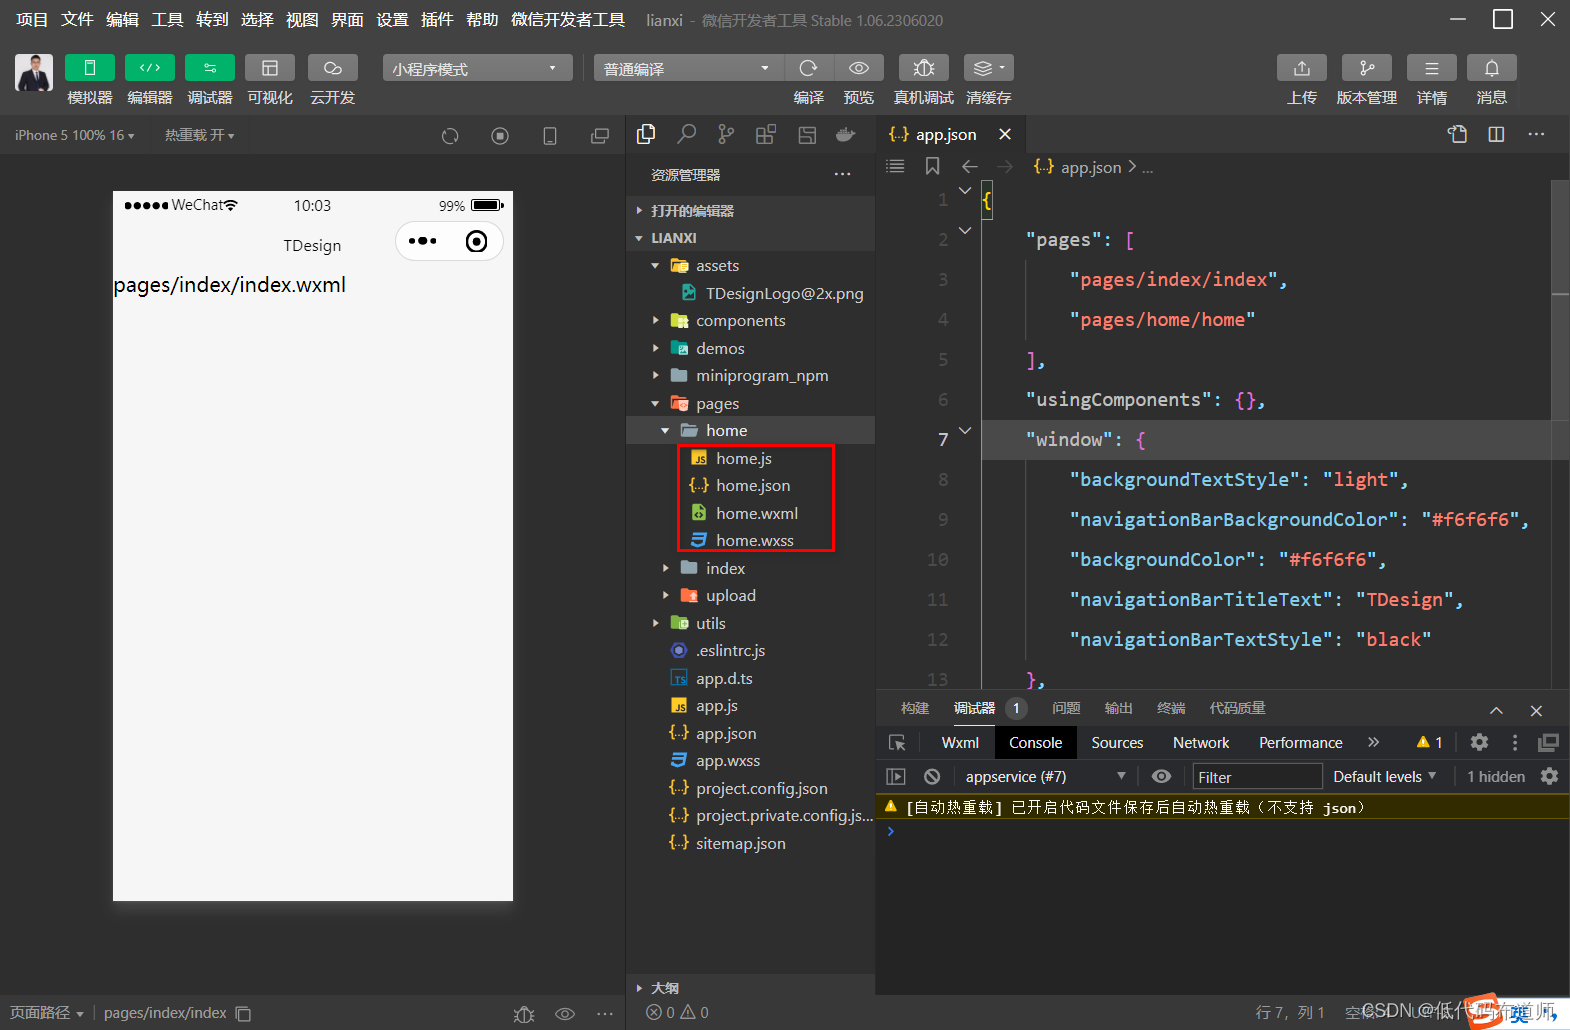
它会自动生成四个页面分别是home.wxml、home.js、home.wxss、home.json
然后创建分类页面,分类页面是在商品页面下的二级页面,结构如下
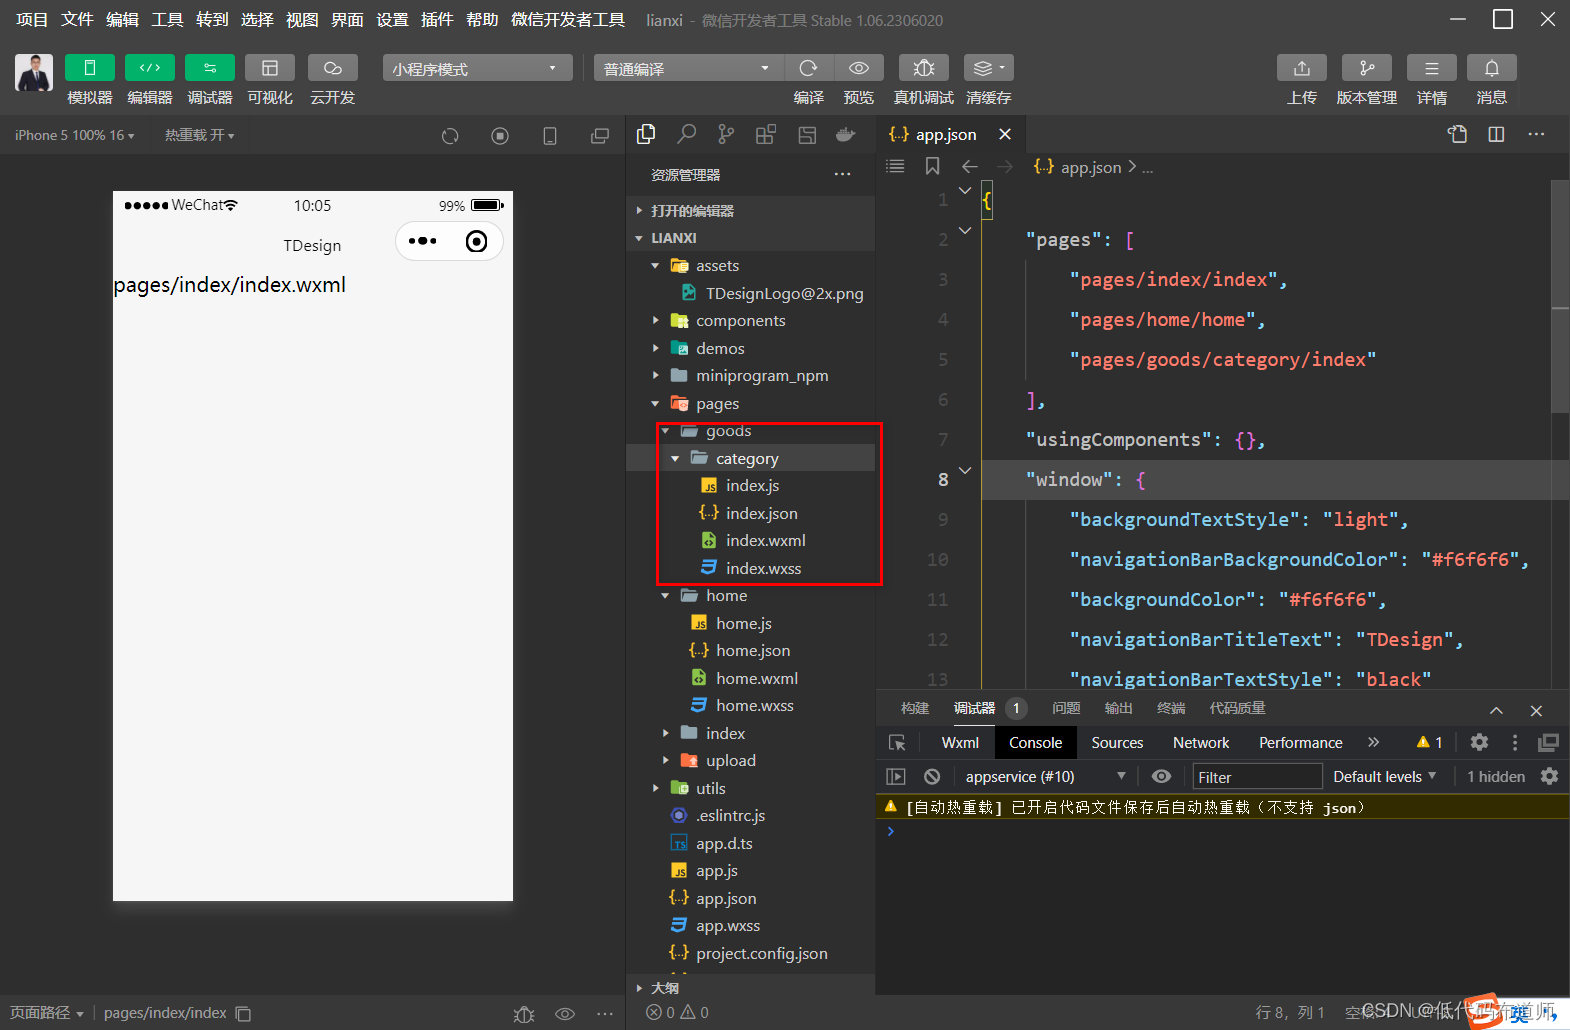
之后建立购物车cart、个人中心usercenter页面
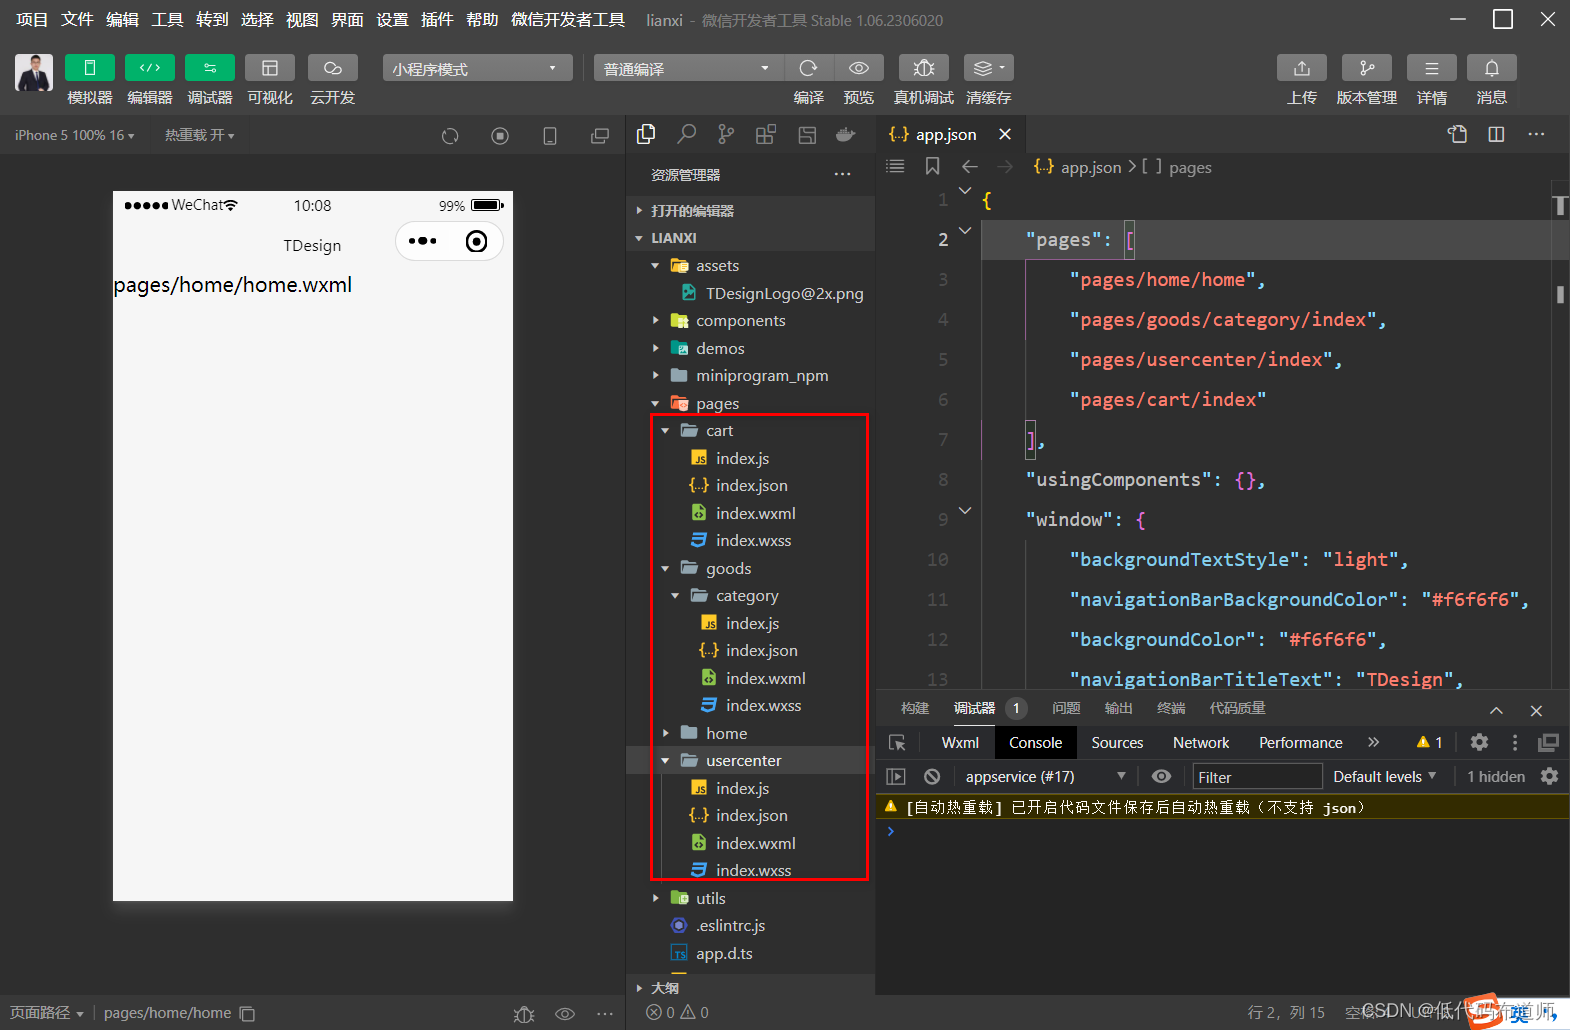
页面创建好之后,页面的路径会自动的注册到app.json里
{
    "pages": [
        "pages/home/home",
        "pages/goods/category/index",
        "pages/usercenter/index",
        "pages/cart/index"
    ],
    "usingComponents": {},
    "window": {
        "backgroundTextStyle": "light",
        "navigationBarBackgroundColor": "#f6f6f6",
        "backgroundColor": "#f6f6f6",
        "navigationBarTitleText": "TDesign",
        "navigationBarTextStyle": "black"
    },
    "sitemapLocation": "sitemap.json"
}
3 创建底部导航条
我们底部导航条作为一级页面,可以使用微信自带的tabBar组件,配置方法是直接在app.json文件里增加对应的属性。导航条可以使用图标+文字的方案,图标有两种一种是选中状态,一种是未选中状态。
"tabBar": {
    "custom": true,
    "color": "#666666",
    "selectedColor": "#FF5F15",
    "backgroundColor": "#ffffff",
    "borderStyle": "black",
    "list": [
      {
        "pagePath": "pages/home/home",
        "text": "首页"
      },
      {
        "pagePath": "pages/goods/category/index",
        "text": "分类"
      },
      {
        "pagePath": "pages/cart/index",
        "text": "购物车"
      },
      {
        "pagePath": "pages/usercenter/index",
        "text": "我的"
      }
    ]
  }
把这个配置添加到app.json发现底部菜单栏并没有出现,原因是现在我们设置了cutom为true,表示我们要自己定义菜单栏的表现形式,因此需要在根目录创建一个custom-tab-bar文件夹
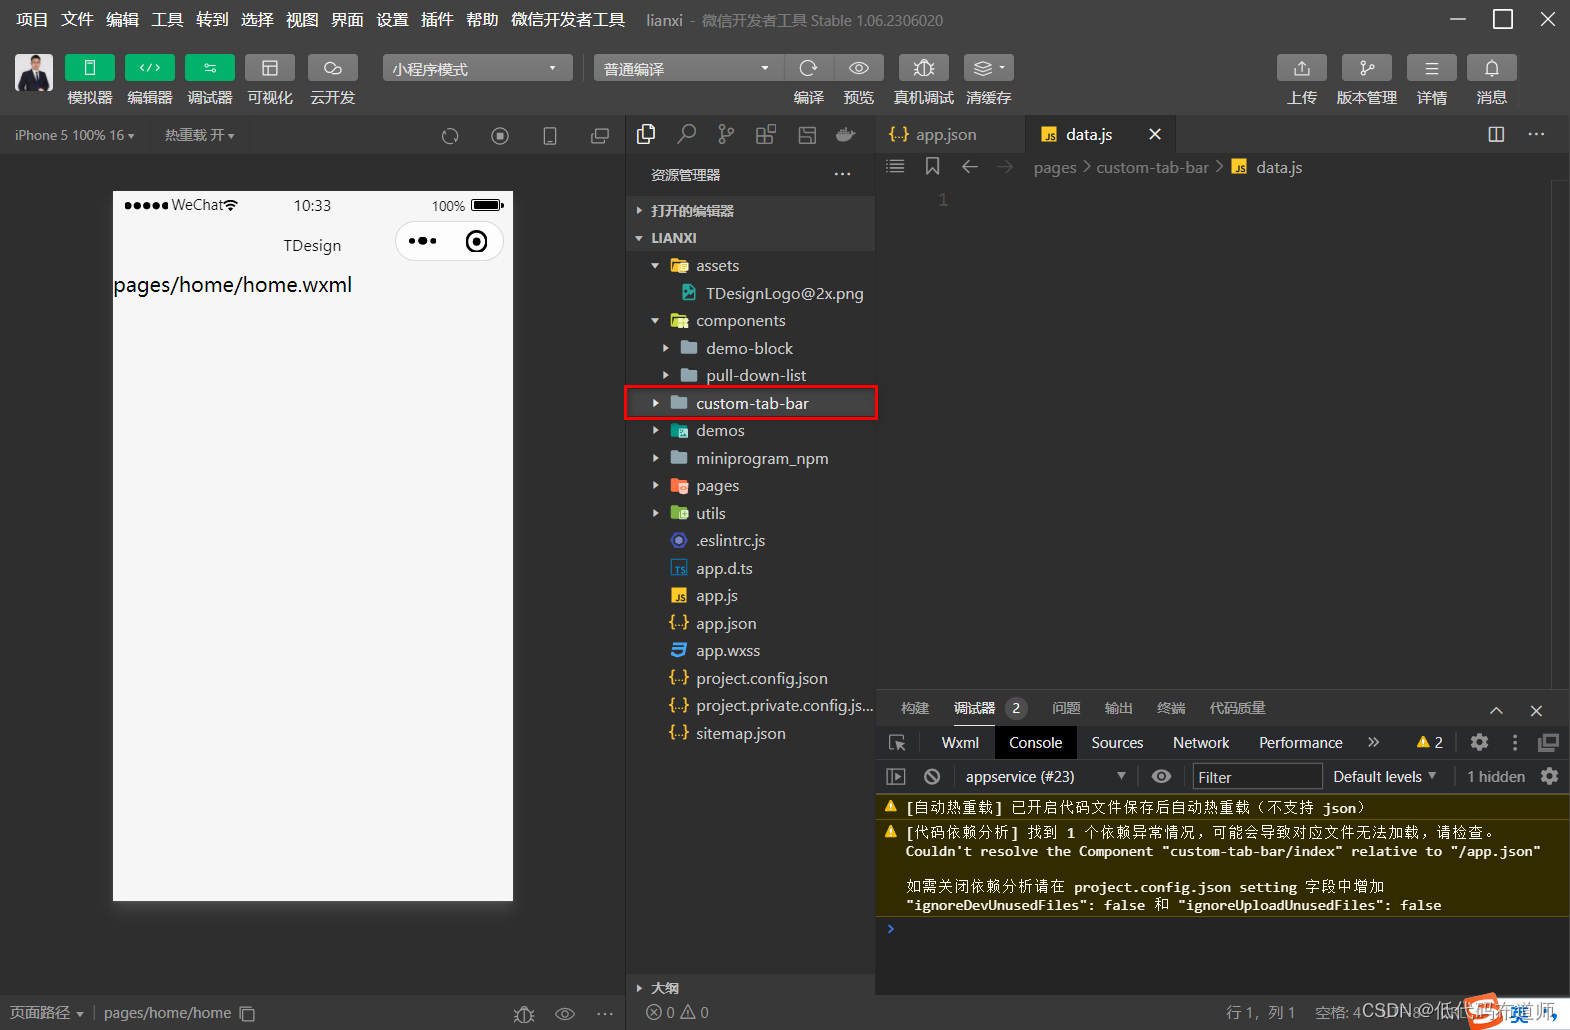
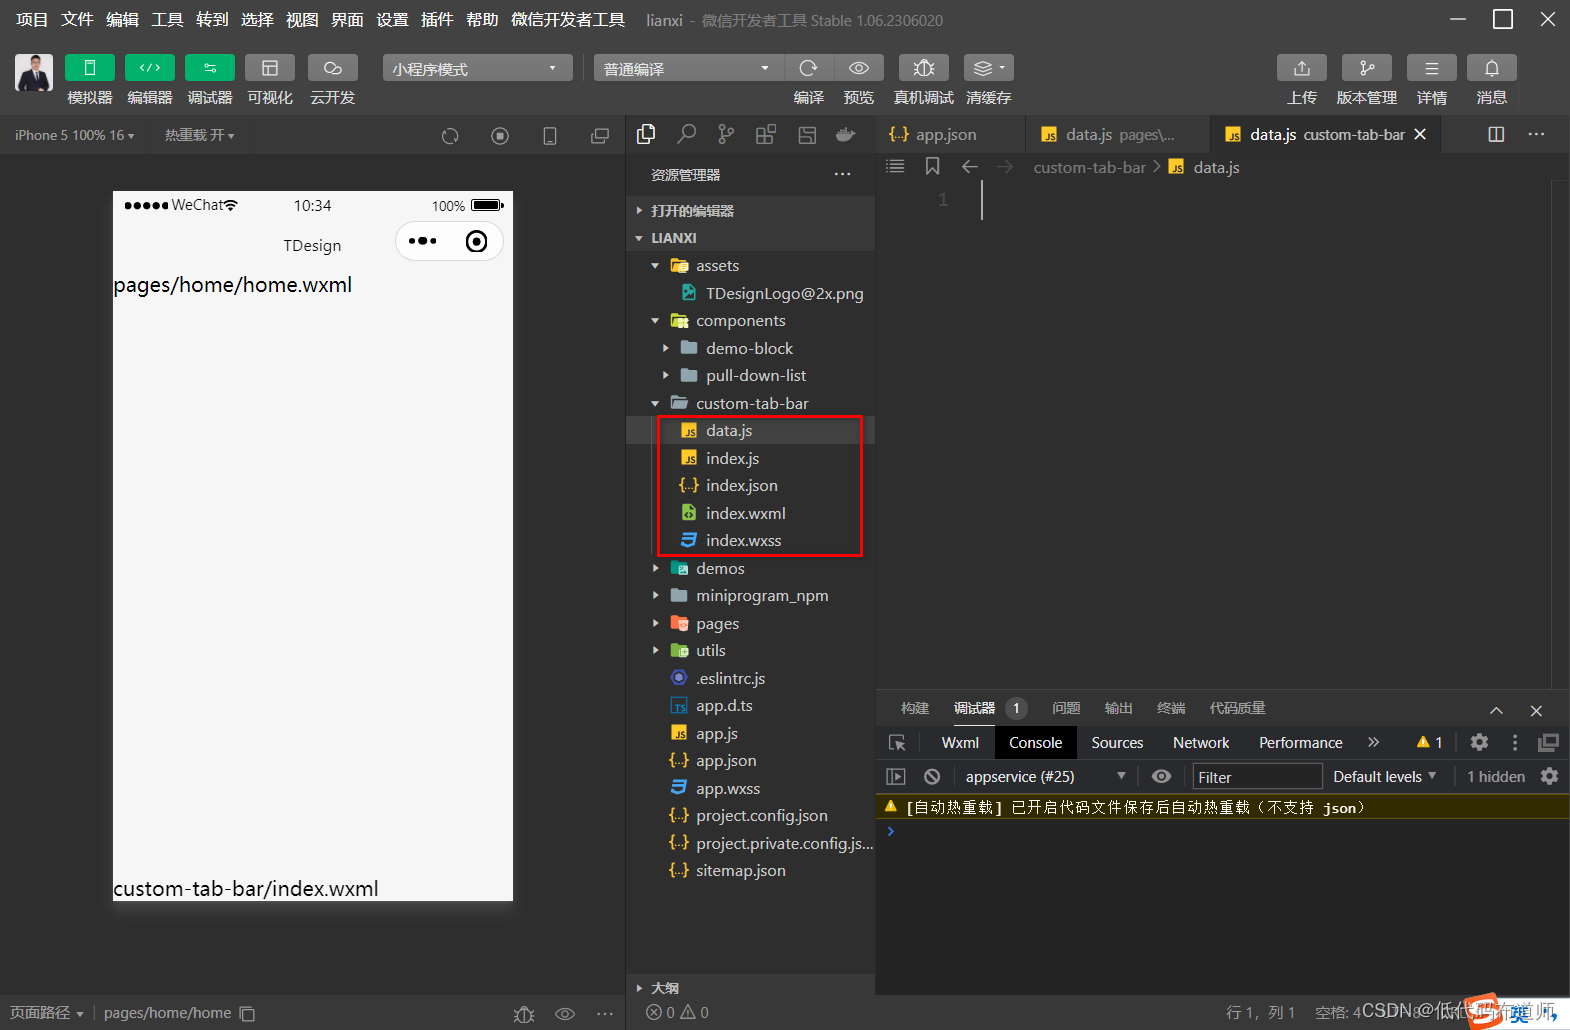
在文件夹下建立如下文件
在index.json里输入如下配置
{
  "component": true,
  "usingComponents": {
    "t-tab-bar": "tdesign-miniprogram/tab-bar/tab-bar",
    "t-tab-bar-item": "tdesign-miniprogram/tab-bar-item/tab-bar-item",
    "t-icon": "tdesign-miniprogram/icon/icon"
  }
}
component为true表示这是一个自定义组件,下边引入了三个框架自带组件
在data.js里输入如下代码
export default [
  {
    icon: 'home',
    text: '首页',
    url: 'pages/home/home',
  },
  {
    icon: 'sort',
    text: '分类',
    url: 'pages/goods/category/index',
  },
  {
    icon: 'cart',
    text: '购物车',
    url: 'pages/cart/index',
  },
  {
    icon: 'person',
    text: '个人中心',
    url: 'pages/usercenter/index',
  },
];
这里导出了一个数组,数组里的元素是菜单的具体配置,包括图标、文字名称和路径,但这里icon并没有指名路径,是使用框架自带的图标
剩下的配置我们就不解读了,官方已经编写好了,我们只需要复用他的代码就可以
index.js
import TabMenu from './data';
Component({
  data: {
    active: 0,
    list: TabMenu,
  },

  methods: {
    onChange(event) {
      this.setData({ active: event.detail.value });
      wx.switchTab({
        url: this.data.list[event.detail.value].url.startsWith('/')
          ? this.data.list[event.detail.value].url
          : `/${this.data.list[event.detail.value].url}`,
      });
    },

    init() {
      const page = getCurrentPages().pop();
      const route = page ? page.route.split('?')[0] : '';
      const active = this.data.list.findIndex(
        (item) =>
          (item.url.startsWith('/') ? item.url.substr(1) : item.url) ===
          `${route}`,
      );
      this.setData({ active });
    },
  },
});
index.wxml
<t-tab-bar
 value="{{active}}"
 bindchange="onChange"
 split="{{false}}"
>
	<t-tab-bar-item
	 wx:for="{{list}}"
	 wx:for-item="item"
	 wx:for-index="index"
	 wx:key="index"
	>
		<view class="custom-tab-bar-wrapper">
			<t-icon prefix="wr" name="{{item.icon}}" size="48rpx" />
			<view class="text">{{ item.text }}</view>
		</view>
	</t-tab-bar-item>
</t-tab-bar>
index.wxss
.custom-tab-bar-wrapper {
  display: flex;
  flex-direction: column;
  align-items: center;
}

.custom-tab-bar-wrapper .text {
  font-size: 20rpx;
}
实际我们自己做的时候就是把这些代码依次的复制到对应的文件里,复制过去发现图标显示不了,需要再引入一个样式文件,在根目录建一个style文件夹,创建一个iconfont的wxss文件
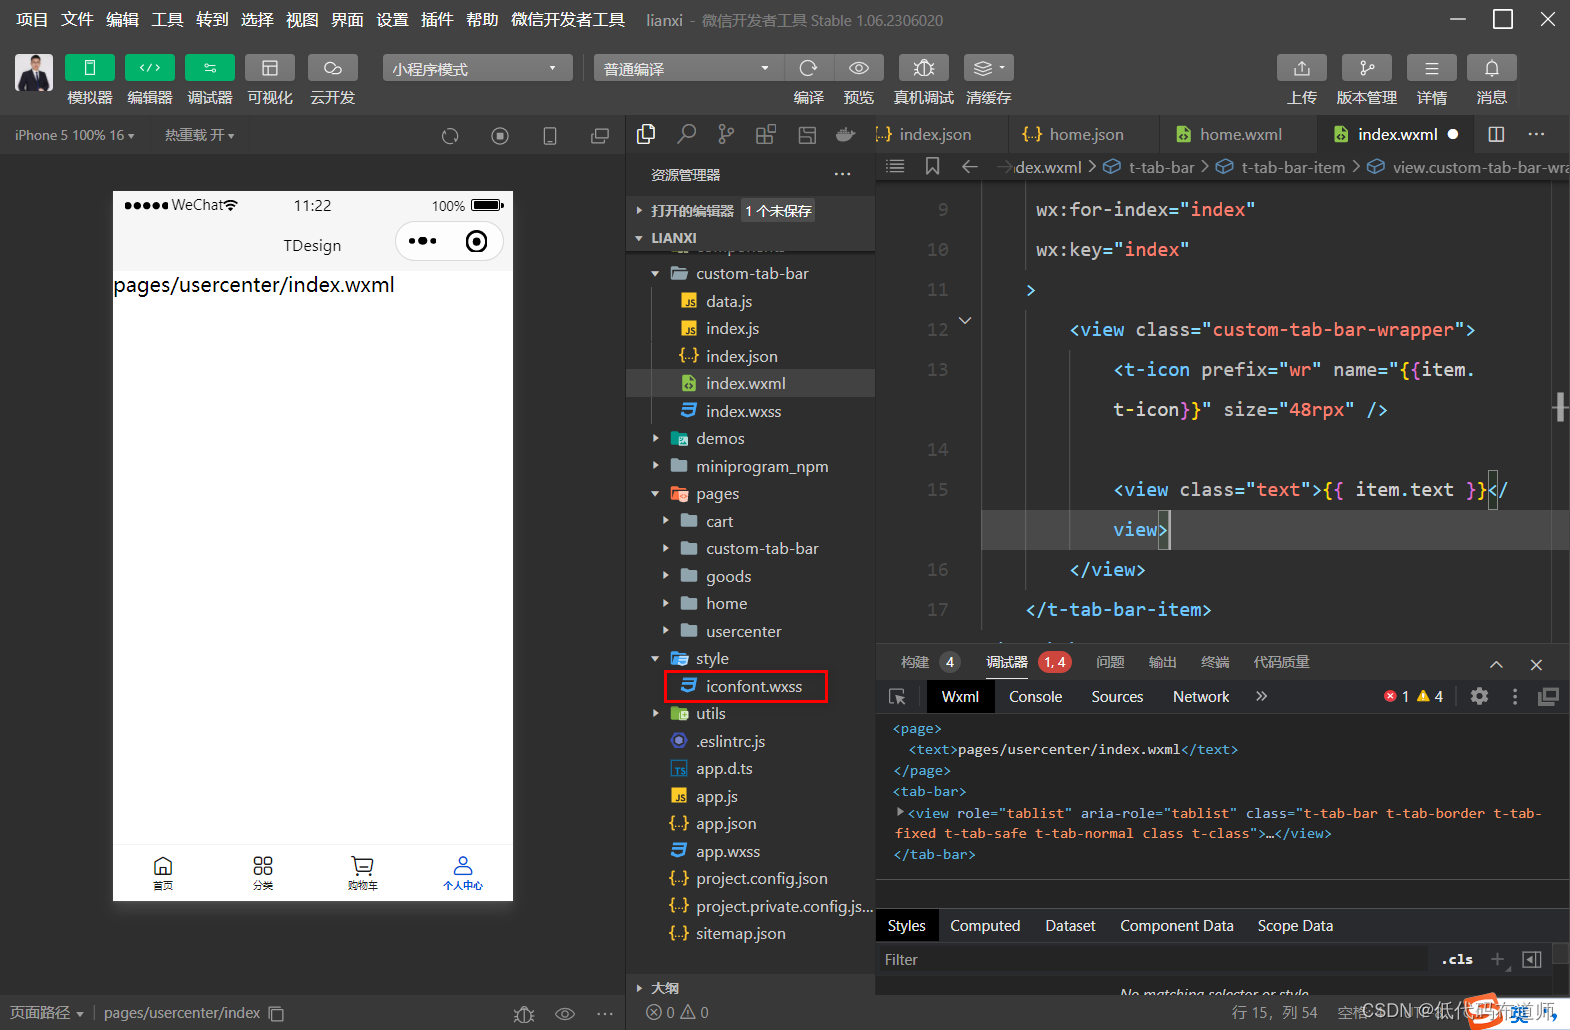
样式文件的内容
@font-face {
    font-family: 'wr';
    src: url('https://cdn3.codesign.qq.com/icons/gqxWyZ1yMJZmVXk/Yyg5Zp2LG8292lK/iconfont.woff?t=cfc62dd36011e60805f5c3ad1a20b642')
      format('woff2');
  }

  .wr {
    font-family: 'wr' !important;
    font-size: 32rpx;
    font-style: normal;
    -webkit-font-smoothing: antialiased;
    -moz-osx-font-smoothing: grayscale;
  }
  .wr-deliver:before {
    content: '\e033';
  }
  .wr-indent_close:before {
    content: '\e041';
  }
  .wr-edit:before {
    content: '\e002';
  }
  .wr-succeed:before {
    content: '\e00d';
  }
  .wr-goods_return:before {
    content: '\e03c';
  }
  .wr-wallet:before {
    content: '\e051';
  }
  .wr-package:before {
    content: '\e047';
  }
  .wr-comment:before {
    content: '\e037';
  }
  .wr-exchang:before {
    content: '\e03e';
  }
  .wr-credit_card:before {
    content: '\e035';
  }
  .wr-service:before {
    content: '\e04a';
  }
  .wr-shop_bag:before {
    content: '\e02a';
  }
  .wr-goods_refund:before {
    content: '\e03d';
  }
  .wr-check:before {
    content: '\e053';
  }
  .wr-wechat:before {
    content: '\e065';
  }
  .wr-cartAdd:before {
    content: '\e05d';
  }
  .wr-home:before {
    content: '\e020';
  }
  .wr-person:before {
    content: '\e02c';
  }
  .wr-cart:before {
    content: '\e023';
  }
  .wr-location:before {
    content: '\e016';
  }
  .wr-arrow_forward:before {
    content: '\e012';
  }
  .wr-close:before {
    content: '\e021';
  }
  .wr-search:before {
    content: '\e011';
  }
  .wr-clear_filled:before {
    content: '\e027';
  }
  .wr-arrow_drop_up:before {
    content: '\e071';
  }
  .wr-arrow_drop_down:before {
    content: '\e070';
  }
  .wr-filter:before {
    content: '\e038';
  }
  .wr-copy:before {
    content: '\e001';
  }
  .wr-arrow_back:before {
    content: '\e003';
  }
  .wr-add_circle:before {
    content: '\e004';
  }
  .wr-Download:before {
    content: '\e006';
  }
  .wr-map:before {
    content: '\e007';
  }
  .wr-store:before {
    content: '\e008';
  }
  .wr-movie:before {
    content: '\e00a';
  }
  .wr-done:before {
    content: '\e00b';
  }
  .wr-minus:before {
    content: '\e00c';
  }
  .wr-list:before {
    content: '\e00e';
  }
  .wr-expand_less:before {
    content: '\e00f';
  }
  .wr-person_add:before {
    content: '\e010';
  }
  .wr-Photo:before {
    content: '\e013';
  }
  .wr-preview:before {
    content: '\e014';
  }
  .wr-remind:before {
    content: '\e015';
  }

  .wr-info:before {
    content: '\e017';
  }
  .wr-expand_less_s:before {
    content: '\e018';
  }
  .wr-arrow_forward_s:before {
    content: '\e019';
  }
  .wr-expand_more_s:before {
    content: '\e01a';
  }
  .wr-share:before {
    content: '\e01d';
  }
  .wr-notify:before {
    content: '\e01e';
  }
  .wr-add:before {
    content: '\e01f';
  }
  .wr-Home:before {
    content: '\e020';
  }
  .wr-delete:before {
    content: '\e022';
  }
  .wr-error:before {
    content: '\e025';
  }
  .wr-sort:before {
    content: '\e028';
  }
  .wr-sort_filled:before {
    content: '\e029';
  }
  .wr-shop_bag_filled:before {
    content: '\e02b';
  }

  .wr-person_filled:before {
    content: '\e02d';
  }
  .wr-cart_filled:before {
    content: '\e02e';
  }
  .wr-home_filled:before {
    content: '\e02f';
  }
  .wr-add_outline:before {
    content: '\e030';
  }

  .wr-compass:before {
    content: '\e034';
  }
  .wr-goods_exchange:before {
    content: '\e03a';
  }
  .wr-group_buy:before {
    content: '\e03b';
  }
  .wr-group:before {
    content: '\e03f';
  }
  .wr-indent_goods:before {
    content: '\e040';
  }
  .wr-help:before {
    content: '\e042';
  }
  .wr-group_takeout:before {
    content: '\e043';
  }
  .wr-label:before {
    content: '\e044';
  }
  .wr-indent_wating:before {
    content: '\e045';
  }
  .wr-member:before {
    content: '\e046';
  }

  .wr-scanning:before {
    content: '\e04b';
  }
  .wr-tv:before {
    content: '\e04d';
  }
  .wr-to_top:before {
    content: '\e04f';
  }
  .wr-visibility_off:before {
    content: '\e050';
  }
  .wr-error-1:before {
    content: '\e052';
  }

  .wr-arrow_right:before {
    content: '\e054';
  }
  .wr-arrow_left:before {
    content: '\e056';
  }
  .wr-picture_filled:before {
    content: '\e057';
  }
  .wr-navigation:before {
    content: '\e058';
  }
  .wr-telephone:before {
    content: '\e059';
  }
  .wr-indent_time:before {
    content: '\e05c';
  }
  .wr-cart_add:before {
    content: '\e05d';
  }
  .wr-classify:before {
    content: '\e060';
  }
  .wr-place:before {
    content: '\e063';
  }
  .wr-wechat_pay:before {
    content: '\e064';
  }
  .wr-security:before {
    content: '\e066';
  }
  .wr-alarm:before {
    content: '\e067';
  }
  .wr-person-1:before {
    content: '\e068';
  }
  .wr-open_in_new:before {
    content: '\e069';
  }
  .wr-uncheck:before {
    content: '\e06b';
  }
  .wr-thumb_up:before {
    content: '\e06c';
  }
  .wr-thumb_up_filled:before {
    content: '\e06d';
  }
  .wr-star:before {
    content: '\e06e';
  }
  .wr-star_filled:before {
    content: '\e06f';
  }
  .wr-cards:before {
    content: '\e072';
  }
  .wr-picture_error_filled:before {
    content: '\e076';
  }
  .wr-discount:before {
    content: '\e077';
  }
然后需要在app.wxss里引入
@import 'style/iconfont.wxss';
一切配置好之后我们就把底部导航栏制作好了
总结
我们本篇带着大家搭建了一下TDesign电商模板的底部导航条功能,模板是使用自定义组件进行了搭建,还引入了自定义样式文件,稍稍有一点复杂,可以照着教程自己实验一下。