前言
技术支持: wx-cropper 裁剪
总体思路是:安装完wx-cropper之后就它当成组件使用。在使用页面的地方引入组件就行。上传图片的逻辑不变,在 通过wx.chooseMedia() Api 拿到图片之后传递给子组件,子组件在拿到图片进行裁剪处理等操作之后,在把图片传递给父组件,父组件在拿到处理之后的图片,在进行自己之后的逻辑操作。简单来说就是------父组件上传图片-->子组件拿到图片进行处理-->处理的图片给父组件-->自己的逻辑操作
一. 引入wx-cropper
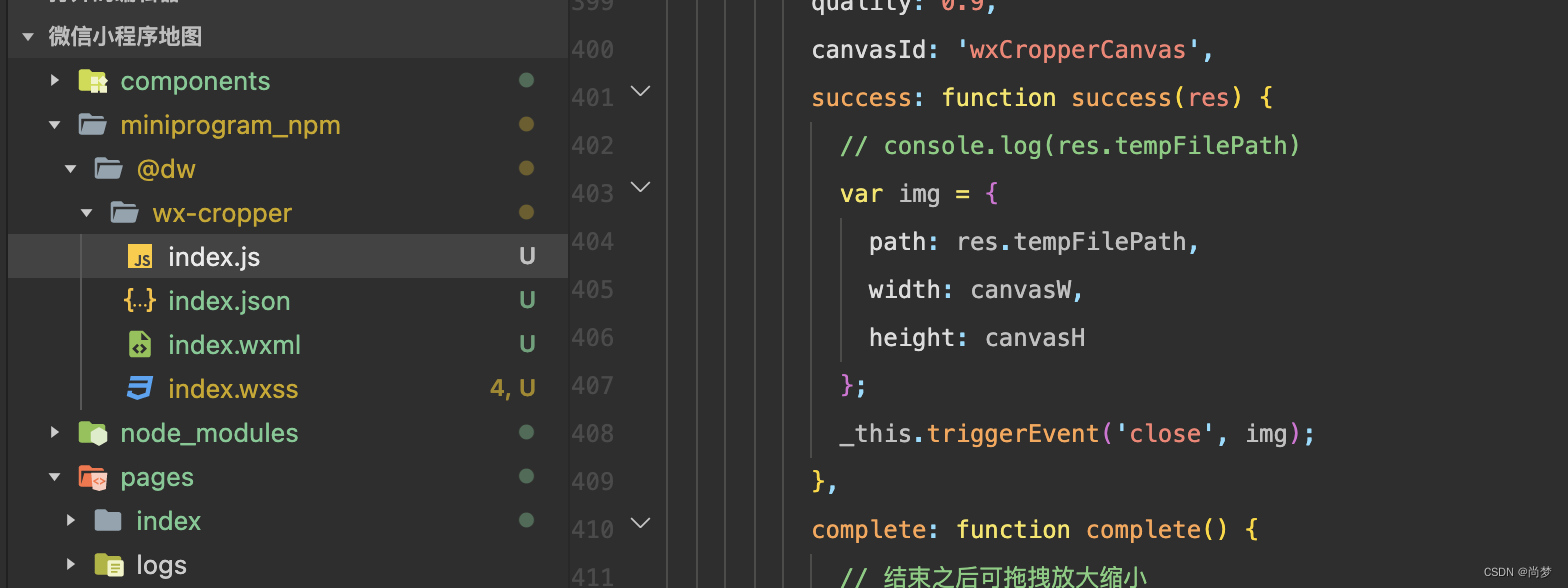
npm i @dw/wx-cropper安装wx-cropper之后构建npm

二. 在需要使用的页面上引入
{
  "usingComponents": {
    "my-cropper": "@dw/wx-cropper"
  }
}
三. 示例
1. wxml代码
<button catchtap="handleuploadimg">上传图片</button>

<block wx:for="{{ fileList }}" wx:key="*this">
  <image src="{{ item }}" mode=""/>
</block>

<view class="layers" wx:if="{{cjtp}}">
    <my-cropper bind:close="hideCut" cutRatio="{{cutRatio}}" imageSrc="{{imageSrc}}" />
</view>
2. wxss样式
这个是需要把裁剪功能组件覆盖到当前页面上
/* pages/upload/upload.wxss */
.layers{
  width: 100vw;
  height: 100vh;
  background-color: #00000080;
  position: absolute;
  top: 0;
  left: 0;
  right: 0;
  bottom: 0;
  z-index: 10000000;
} 
3. js代码
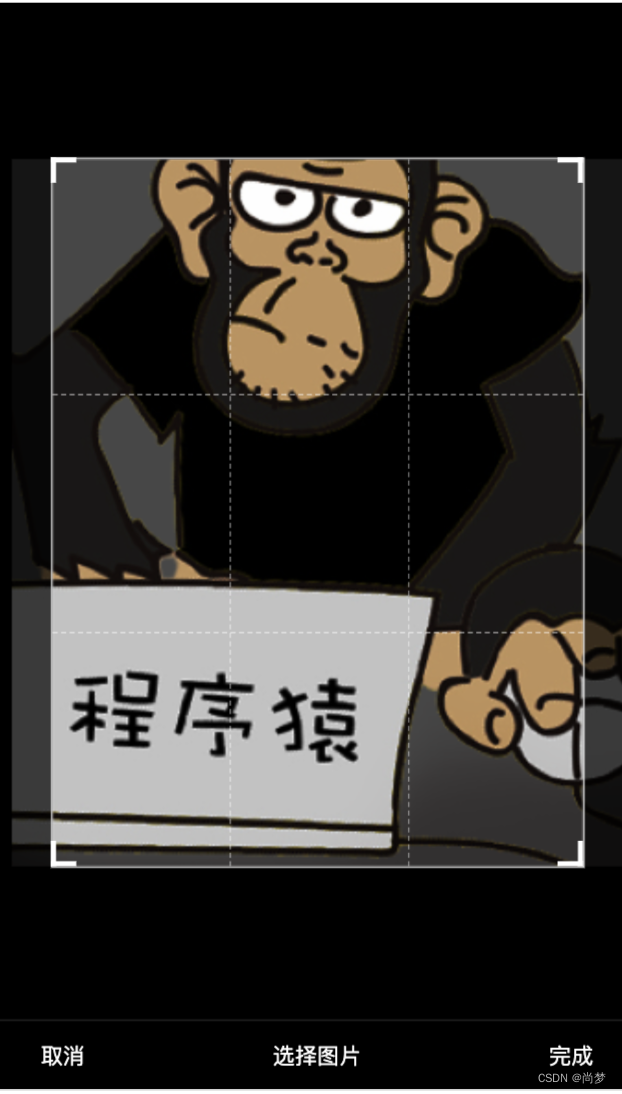
当选择完图片时,显示裁剪功能,以及把上传的图片传给组件。当用户裁剪完图片之后,会通过组件getImageInfo方法处理图片之后,在通过子组件向父组件传值的方法,把裁剪处理完之后图片传递给父组件 _this.triggerEvent('close', img);
// pages/upload/upload.js
Page({

  /**
   * 页面的初始数据
   */
  data: {
    fileList: [], //上传图片集合
    base64List: [], //base64集合
    delFileArr:[],  //删除的附件集合
    imgWidthslot: 0,
    imgHeightslot: 0,
    //裁剪信息
    cjtp: false,     //裁剪信息 这个控制裁剪功能的现实和隐藏
    cutRatio:0.75,  //裁剪比例
    imageSrc:'',    //个人图片
  },

  /**
   * 生命周期函数--监听页面加载
   */
  onLoad(options) {

  },
  // 上传图片
  handleuploadimg() {
    wx.chooseMedia({
      count: 1,
      mediaType: ['image'],
      sourceType: ['camera', 'album'],
      success: (res) => {
        // this.setData({
        //   fileList: res.tempFiles
        // })
        var tempFilePaths = res.tempFiles;
        for (let i in tempFilePaths) {
          let imagePath = tempFilePaths[i].tempFilePath; //原图的路径
          let size = tempFilePaths[i].size;      //原图大小
            //this.setData({
             // imageSrc:imagePath,
              //cjtp:true,
            //})
            //判断是否需要压缩
           if(size > this.data.size){
              this.setCanvasLoad(imagePath);
           }else{
            this.setData({
              imageSrc:imagePath,
              cjtp:true,
            })
          }

        }
      }
    })
  },
// 压缩图片
setCanvasLoad(obj){
    let imagePath = obj; //原图的路径
      const ctx = wx.createCanvasContext('myfirstCanvasSlot',this);
      let that = this;
      wx.showLoading({
        title: '图片压缩中...',
        mask: true
      }) //不需要你可以删掉
      // console.log(imagePath,'原图的路径')
      wx.getImageInfo({
        src:imagePath,
        success:(res)=>{
          // console.log(res,'获取图片的属性')
          // 图片原始尺寸
          let originWidth = res.width;
          let originHeight = res.height;
          // 最大尺寸限制,可通过设置宽高来实现图片压缩程度
          let maxWidth = 1920,
              maxHeight = 800;
          // 目标尺寸
          let targetWidth = originWidth,
              targetHeight = originHeight;
          // 图片尺寸超过200x150的限制
          if(originWidth > maxWidth || originHeight > maxHeight) {
              if(originWidth / originHeight > maxWidth / maxHeight) {
                  // 更宽,按照宽度限定尺寸
                  targetWidth = maxWidth;
                  targetHeight = Math.round(maxWidth * (originHeight / originWidth));
              } else {
                  targetHeight = maxHeight;
                  targetWidth = Math.round(maxHeight * (originWidth / originHeight));
              }
          }
          // canvas对图片进行缩放
          this.setData({
              imgWidthslot: targetWidth,
              imgHeightslot: targetHeight
          })

          // 压缩图片(绘制图像到画布)
          ctx.drawImage(imagePath,0,0,targetWidth,targetHeight);
          console.log(this.data.imgWidth)

          ctx.draw(false, ()=>{
            setTimeout(()=>{
              // canvas导出为图片路径
              wx.canvasToTempFilePath({
                canvasId: 'myfirstCanvasSlot',
                fileType: 'png', //支持jpg或png
                quality: 0.92, //图片质量
                success:(res1)=> {
                    wx.hideLoading();
                    // console.log(targetWidth,targetHeight,'targetHeight')
                    let compressedPath = res1.tempFilePath;
                    //将图片转化为base64
                    this.setData({
                      imageSrc:compressedPath,
                      cjtp:true,
                    })
                },
                fail:(res1)=>{
                  // console.log('图片压缩失败',res)
                  wx.hideLoading()
                  wx.showModal({
                    content: '图片压缩失败',
                    showCancel:false
                  })
                }
              },that)
            },200)

          })
        },
        fail: (res) => {
          wx.hideLoading()
          // console.log(res,'获取图片的属性失败');
          wx.showModal({
            content: '图片压缩失败',
            showCancel:false
          })
        }
      })
  },

  //关闭裁剪
  hideCut(e){
    let obj = e.detail;
    let fileList = this.data.fileList;
    let base64List = this.data.base64List;
    //是否已经截取
    if(obj){
      console.log('------obj', obj)
      wx.showLoading({
        title: '裁剪中',
      })
      fileList = [ obj.path ]
      wx.getFileSystemManager().readFile({
        filePath: obj.path,
        encoding: "base64",
        success: (res) => {

          wx.hideLoading(); //不需要你可以删掉
          base64List = [res.data]
          this.setData({
            base64List: base64List,
            fileList: fileList,
          })

          console.log('-----res-----', this.data.base64List, this.data.fileList)
        },
        fail: (res) => {

          wx.hideLoading(); //不需要你可以删掉
          wx.showModal({
            content: '图片裁剪失败',
            showCancel:false
          })
        }
      })
    }
    this.setData({
      cjtp:false,
    })
  },
  /**
   * 生命周期函数--监听页面初次渲染完成
   */
  onReady() {

  },

  /**
   * 生命周期函数--监听页面显示
   */
  onShow() {

  },

  /**
   * 生命周期函数--监听页面隐藏
   */
  onHide() {

  },

  /**
   * 生命周期函数--监听页面卸载
   */
  onUnload() {

  },

  /**
   * 页面相关事件处理函数--监听用户下拉动作
   */
  onPullDownRefresh() {

  },

  /**
   * 页面上拉触底事件的处理函数
   */
  onReachBottom() {

  },

  /**
   * 用户点击右上角分享
   */
  onShareAppMessage() {

  }
})
父组件会通过hideCut方法 来拿到子组件传递过来的图片,然后在回显到页面上。