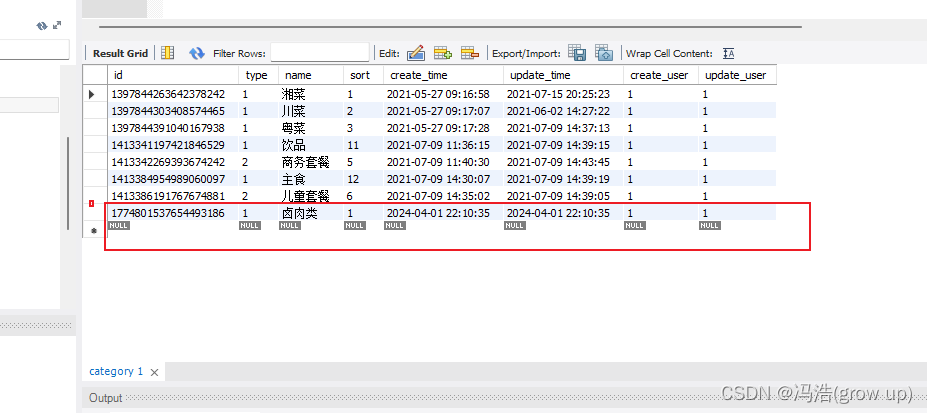
1.自定义头部

coustom-nav
<view class="layout">
    <view class="navbar">
        <view class="statusBar"></view>
        <view class="titleBar">
          <view class="title">标题</view>
            <view class="search">
                <uni-icons class="icon" type="search" color="#888" size="18"></uni-icons>
                <text class="text">搜索</text>
            </view>
        </view>
    </view>
.layout{
.navbar{
position: fixed;
top: 0;
left: 0;
width: 100%;
z-index: 999;
background:
// linear-gradient(to bottom,rgba(0,0,0,0) 50%,#fff 100%),
linear-gradient(to bottom,rgba(0,0,0,0) , #fff 400rpx),
linear-gradient(to right,#beecd8 20%,#F4E2D8);
.statusBar {}
.titleBar{
display: flex;
align-items: center;
padding: 0 30rpx;
// height: 100rpx;
.title{
font-size: 22px;
font-weight: 700;
color: $text-font-color-1;
}
.search{
width: 220rpx;
height: 50rpx;
border-radius: 60rpx;
background: rgba(255, 255, 255, 0.4);
border: 1px solid #fff;
margin-left: 30rpx;
color: #999;
font-size: 28rpx;
display: flex;
align-items: center;
.text{
padding-left: 10rpx;
}
.icon{
margin-left: 5rpx;
}
}
}
}1)状态栏
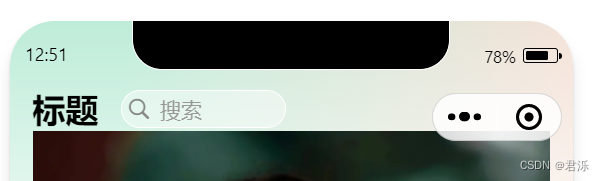
<view class="statusBar" :style="{height:statusBarHeight+'px'}"></view>
H5中为0
<view class="titleBar" :style="{height:titleBarHeight+'px'}">
获取胶囊位置
<view class="fill" :style="{height:statusBarHeight+titleBarHeight+'px'}">
</view>填充区域,让轮播图展示全
<script setup>
import { ref } from 'vue'//状态栏
let SYSTEM_INFO = uni.getSystemInfoSync();
let statusBarHeight = ref(SYSTEM_INFO.statusBarHeight)
// 获取胶囊按钮信息
let {top,height} = uni.getMenuButtonBoundingClientRect();
let titleBarHeight = ref(height + (top - statusBarHeight.value)*2)
</script>
2.封装组件
上面的做法在H5中会报错,所以创建一个utils.js
const SYSTEM_INFO = uni.getSystemInfoSync();
export const getStatusBarHeight = () => SYSTEM_INFO.statusBarHeight || 0;export const getTitleBarHeight = ()=>{
if(uni.getMenuButtonBoundingClientRect){
let {top,height} = uni.getMenuButtonBoundingClientRect();
return height + (top - getStatusBarHeight())*2
}else{
return 40;
}
}export const getNavBarHeight = ()=> getStatusBarHeight() + getTitleBarHeight();
<script setup>
import { ref } from 'vue'
import { getStatusBarHeight, getTitleBarHeight, getNavBarHeight } from '@/utils/system.js'
</script>
3.动态定义标题
<script setup>
import { ref } from 'vue'
import { getStatusBarHeight, getTitleBarHeight, getNavBarHeight } from '@/utils/system.js'
defineProps({
title:{
type:String,
default:"壁纸"
}
})
</script>
<custom-nav-bar title="分类"></custom-nav-bar>
preview.vue
<view class="goBack" :style="{top:getStatusBarHeight()+'px'}" @click="goBack">
//返回上一页
const goBack = ()=>{
uni.navigateBack()}
4.点击公告进行跳转
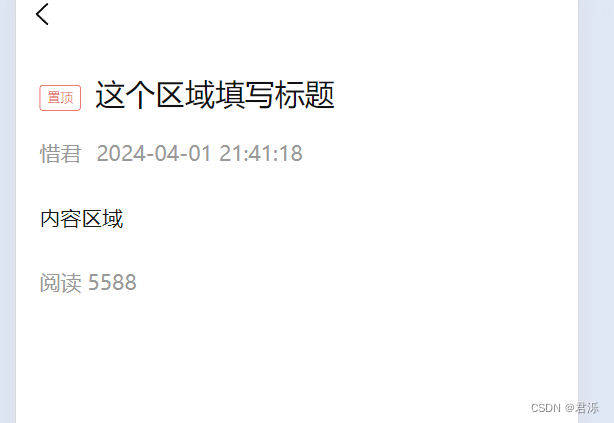
notice.vue
<template>
  <view class="noticeLayout">
      <view class="title">
          <view class="tag">
            <uni-tag text="置顶" type="error" inverted></uni-tag>
          </view>
          <view class="font">这个区域填写标题</view>
      </view>
      <view class="info">
        <view class="item">君泺</view>
        <view class="item">
          <uni-dateformat :date="Date.now()" format="yyyy-MM-dd hh:mm:ss"></uni-dateformat>
        </view>

      </view>

      <view class="content">
        内容区域
      </view>

      <view class="count">
        阅读 5588
      </view>

    </view>
</template>

<script>
  export default {
    data() {
      return {

      }
    },
    methods: {

    }
  }
</script>

<style lang="scss">
.noticeLayout{
	padding:30rpx;
		.title{
			font-size: 40rpx;
			color:#111;
			line-height: 1.6em;
			padding-bottom:30rpx;
			display: flex;
			.tag{
				transform: scale(0.8);
				transform-origin: left center;
				flex-shrink: 0;
			}
			.font{
				padding-left:6rpx;
			}
		}
		.info{
			display: flex;
			align-items: center;
			color:#999;
			font-size: 28rpx;
			.item{
				padding-right: 20rpx;
			}
		}
		.content{
			padding:50rpx 0;
		}
		.count{
			color:#999;
			font-size: 28rpx;
		}
}
</style>